Industrial Design · Clinic collaboration · Fabrication
Pig Lamp
A laser-cut wood lamp whose body is the lampshade — from a project creating customized lamps for autistic children.
Role
- Industrial Designer
Team
- A clinic + Industrial Design Society designers
Tools
- Illustrator, wood laser cutter
Year
- 2025
The project
I collaborated with a clinic and fellow designers in the Industrial Design Society to develop customized lamps for children.
My part
I designed and fabricated this lamp — sketching and sizing every part, drawing the cut files in Illustrator, then cutting, test-fitting, and painting it — translating user needs into physical design constraints.
01 · Concept
The pig’s body is the lampshade.
Instead of a pig holding a lamp, the pig is the lamp: flat silhouettes joined by a cage of arc-shaped ribs, with the bulb held where the body would be. I sketched every part and sized it by hand before drawing anything digitally.
Left: every part, sized by hand. Right: how the pieces add up to the product.
Parts list, from the sketches
- Ribs
- 8 · 12″ × 1.5″, arc-shaped
- Front + back rings
- Slots ¼″ wide
- Socket plates
- 2 · 4″ diameter, 1.5″ hole
- Head silhouette
- 17″ × 4″
- Front + back legs
- 15″ × 3″ each
02 · Cut files
From pencil to laser-ready lines.
I drew every piece in Illustrator for the wood laser cutter. I struggled with Illustrator at first, but once I became more familiar with it, the work went much more smoothly. Before cutting the full set, I cut a small example piece to make sure the slots would fit into the disc.
Left: the main cut file — tabbed ribs, the silhouette, slotted rings, and leg panels. Right: more ribs, plus the small example piece I cut first to make sure the slots would fit into the disc.
03 · Prototyping
Getting the pieces to fit took a couple of tries.
The hardest part was adjusting for the kerf — the sliver of wood the laser burns away — so the slots and ribs actually fit together. It took a couple of tries to get everything aligned just right. I worked it out in raw wood before the painted final.
Draft parts: slotted rings and a silhouette.
The raw-wood version, assembled.
Lit up, still unpainted.
04 · Final
Painted, assembled, and lit.
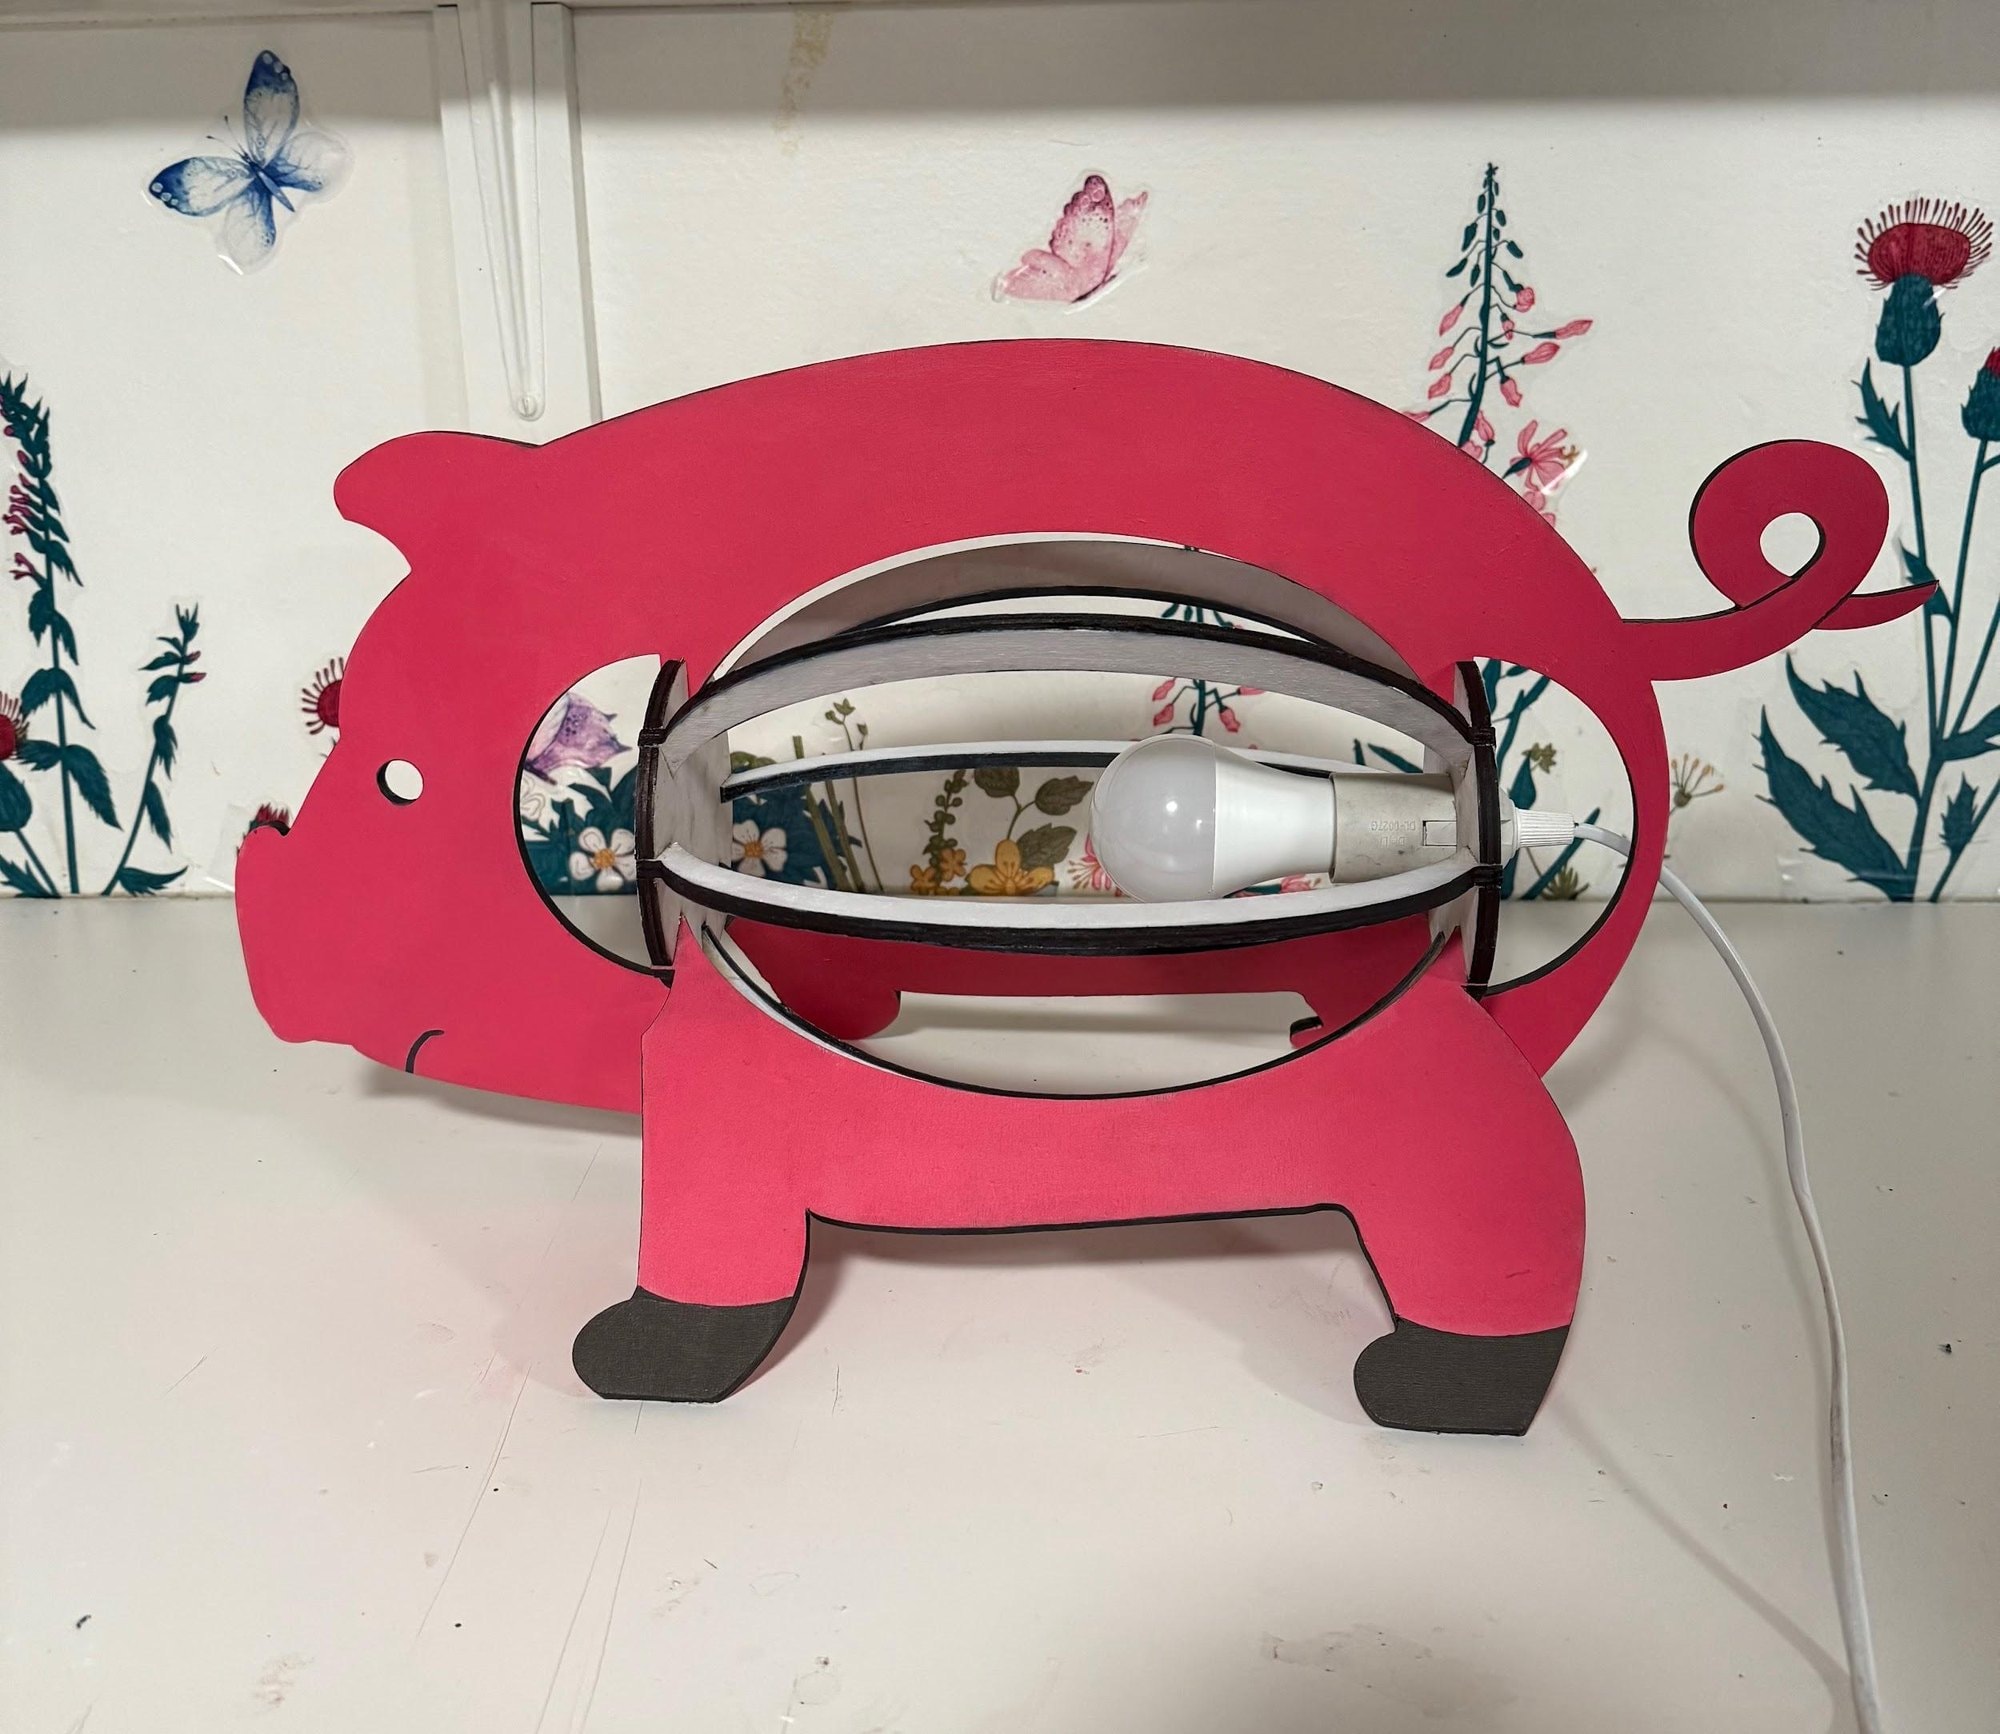
Side.
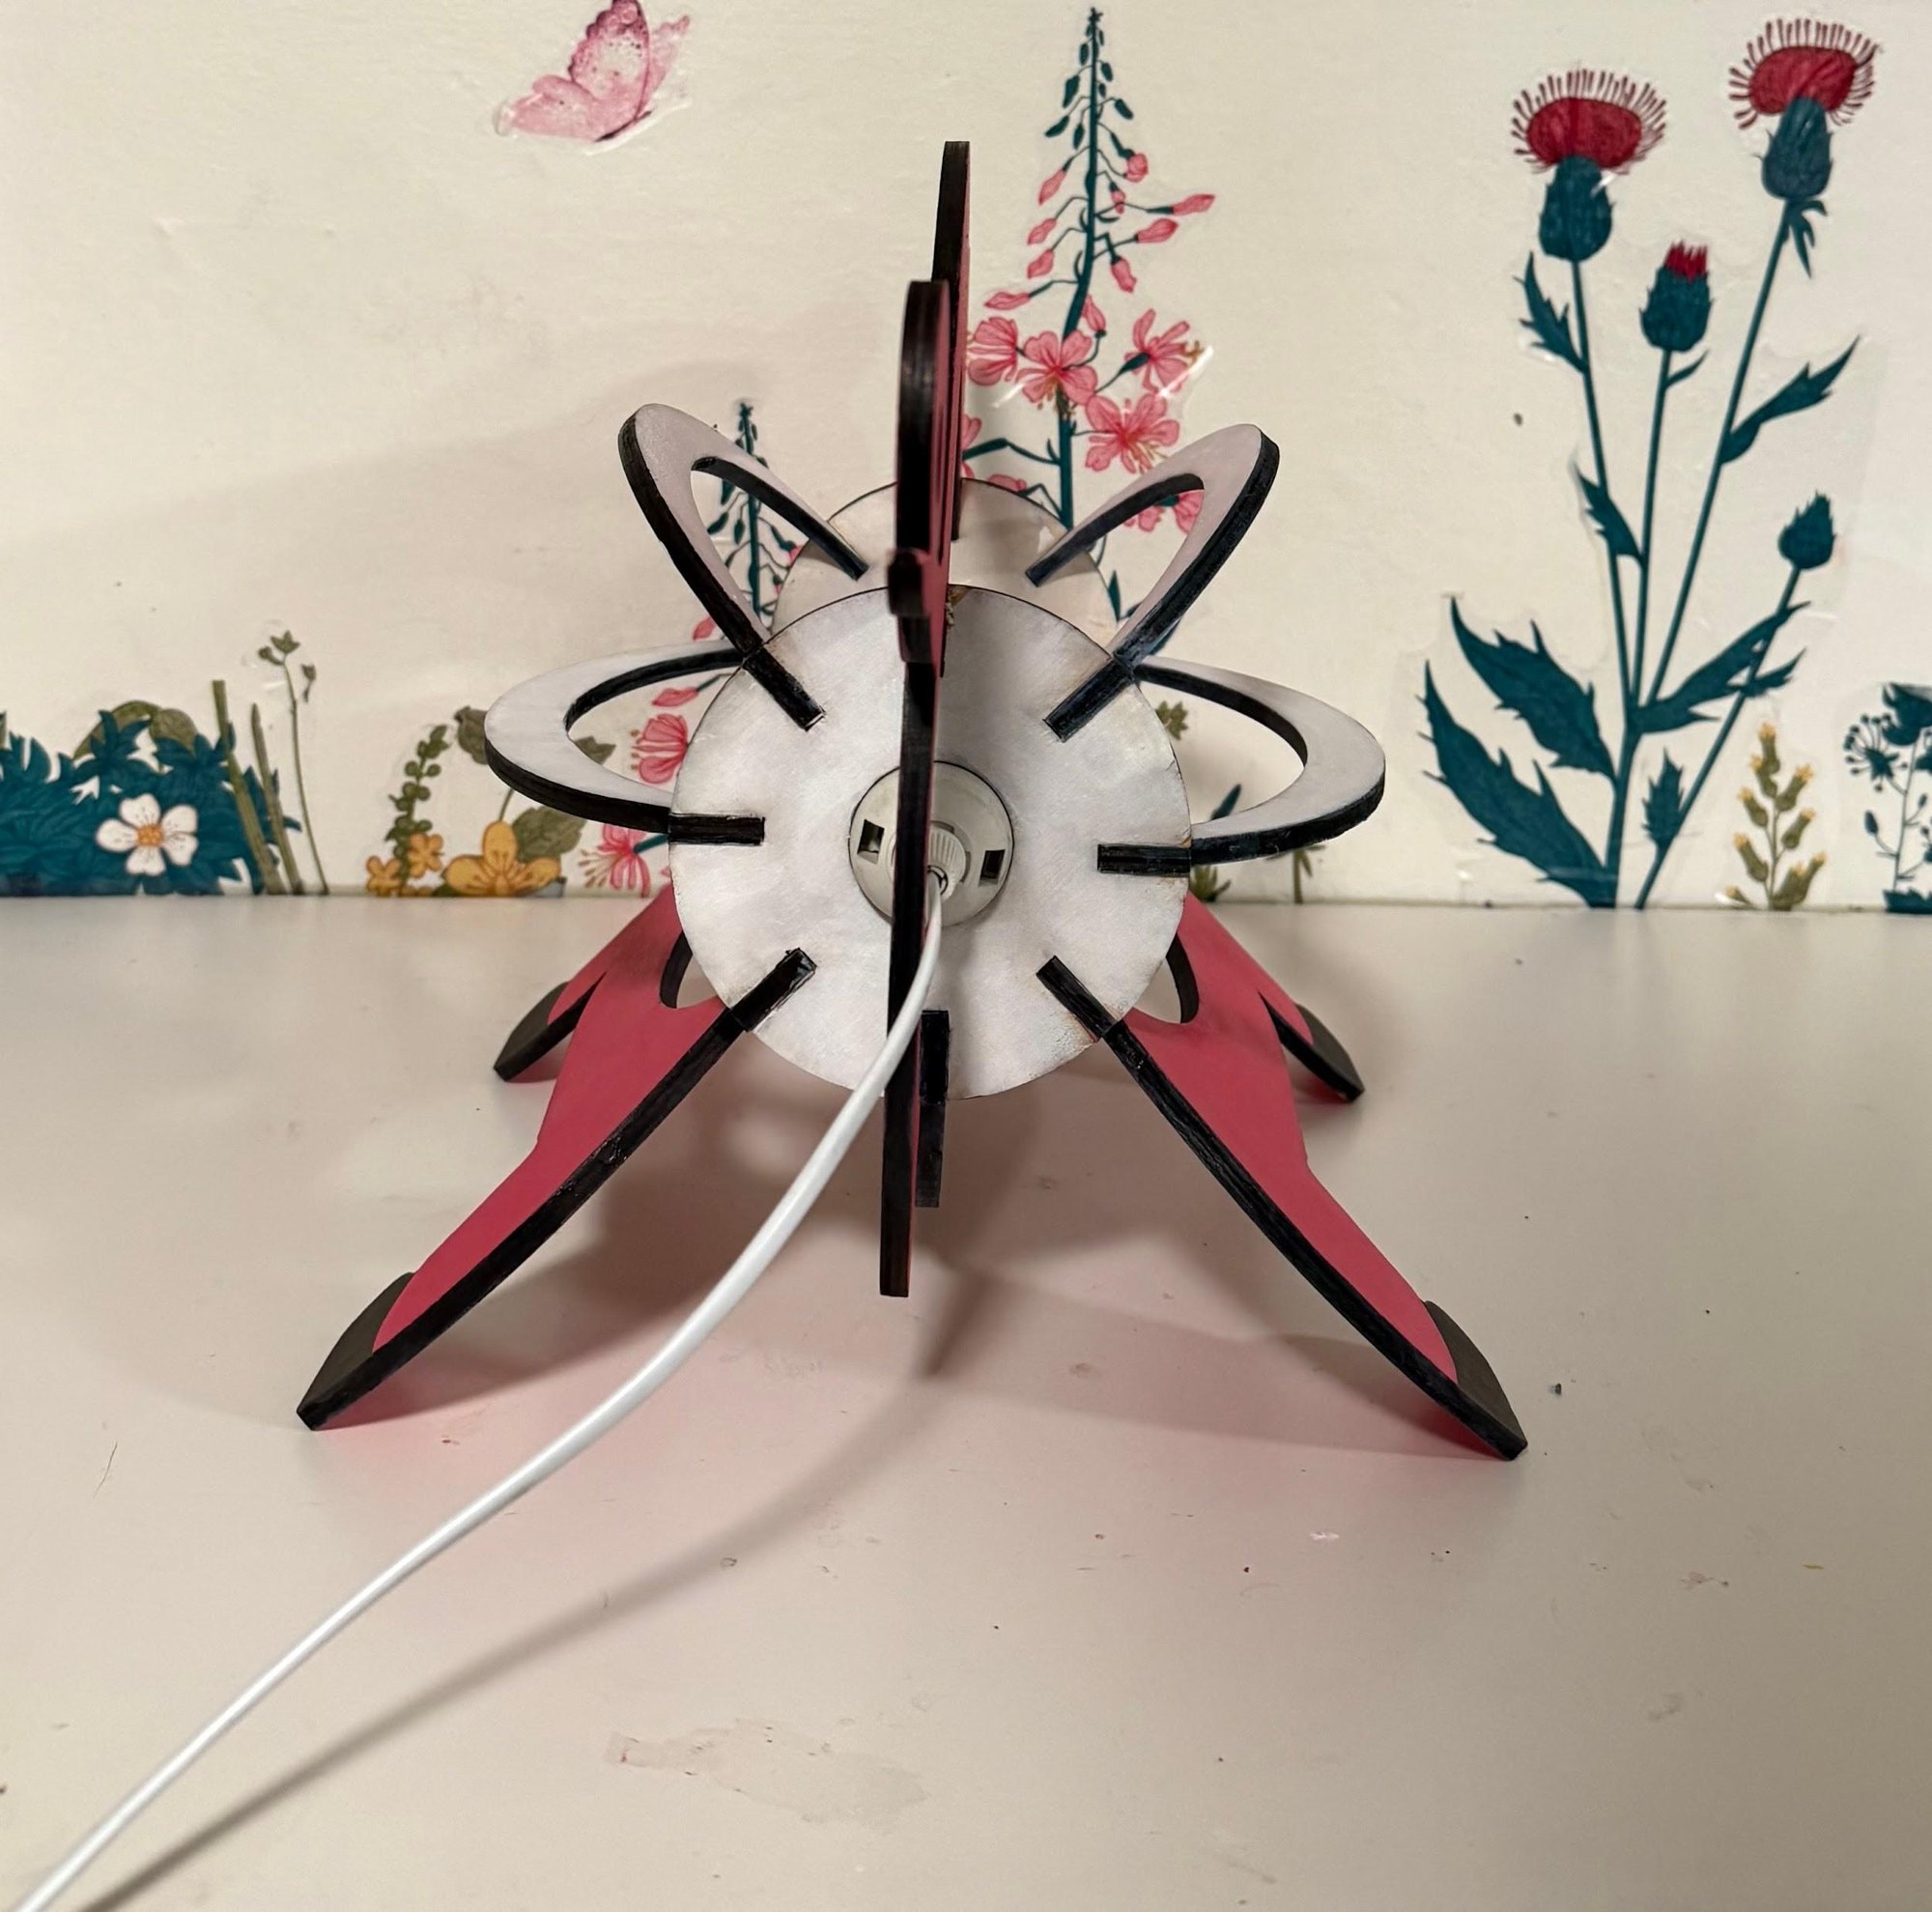
End: rings and ribs tie the two sides together.
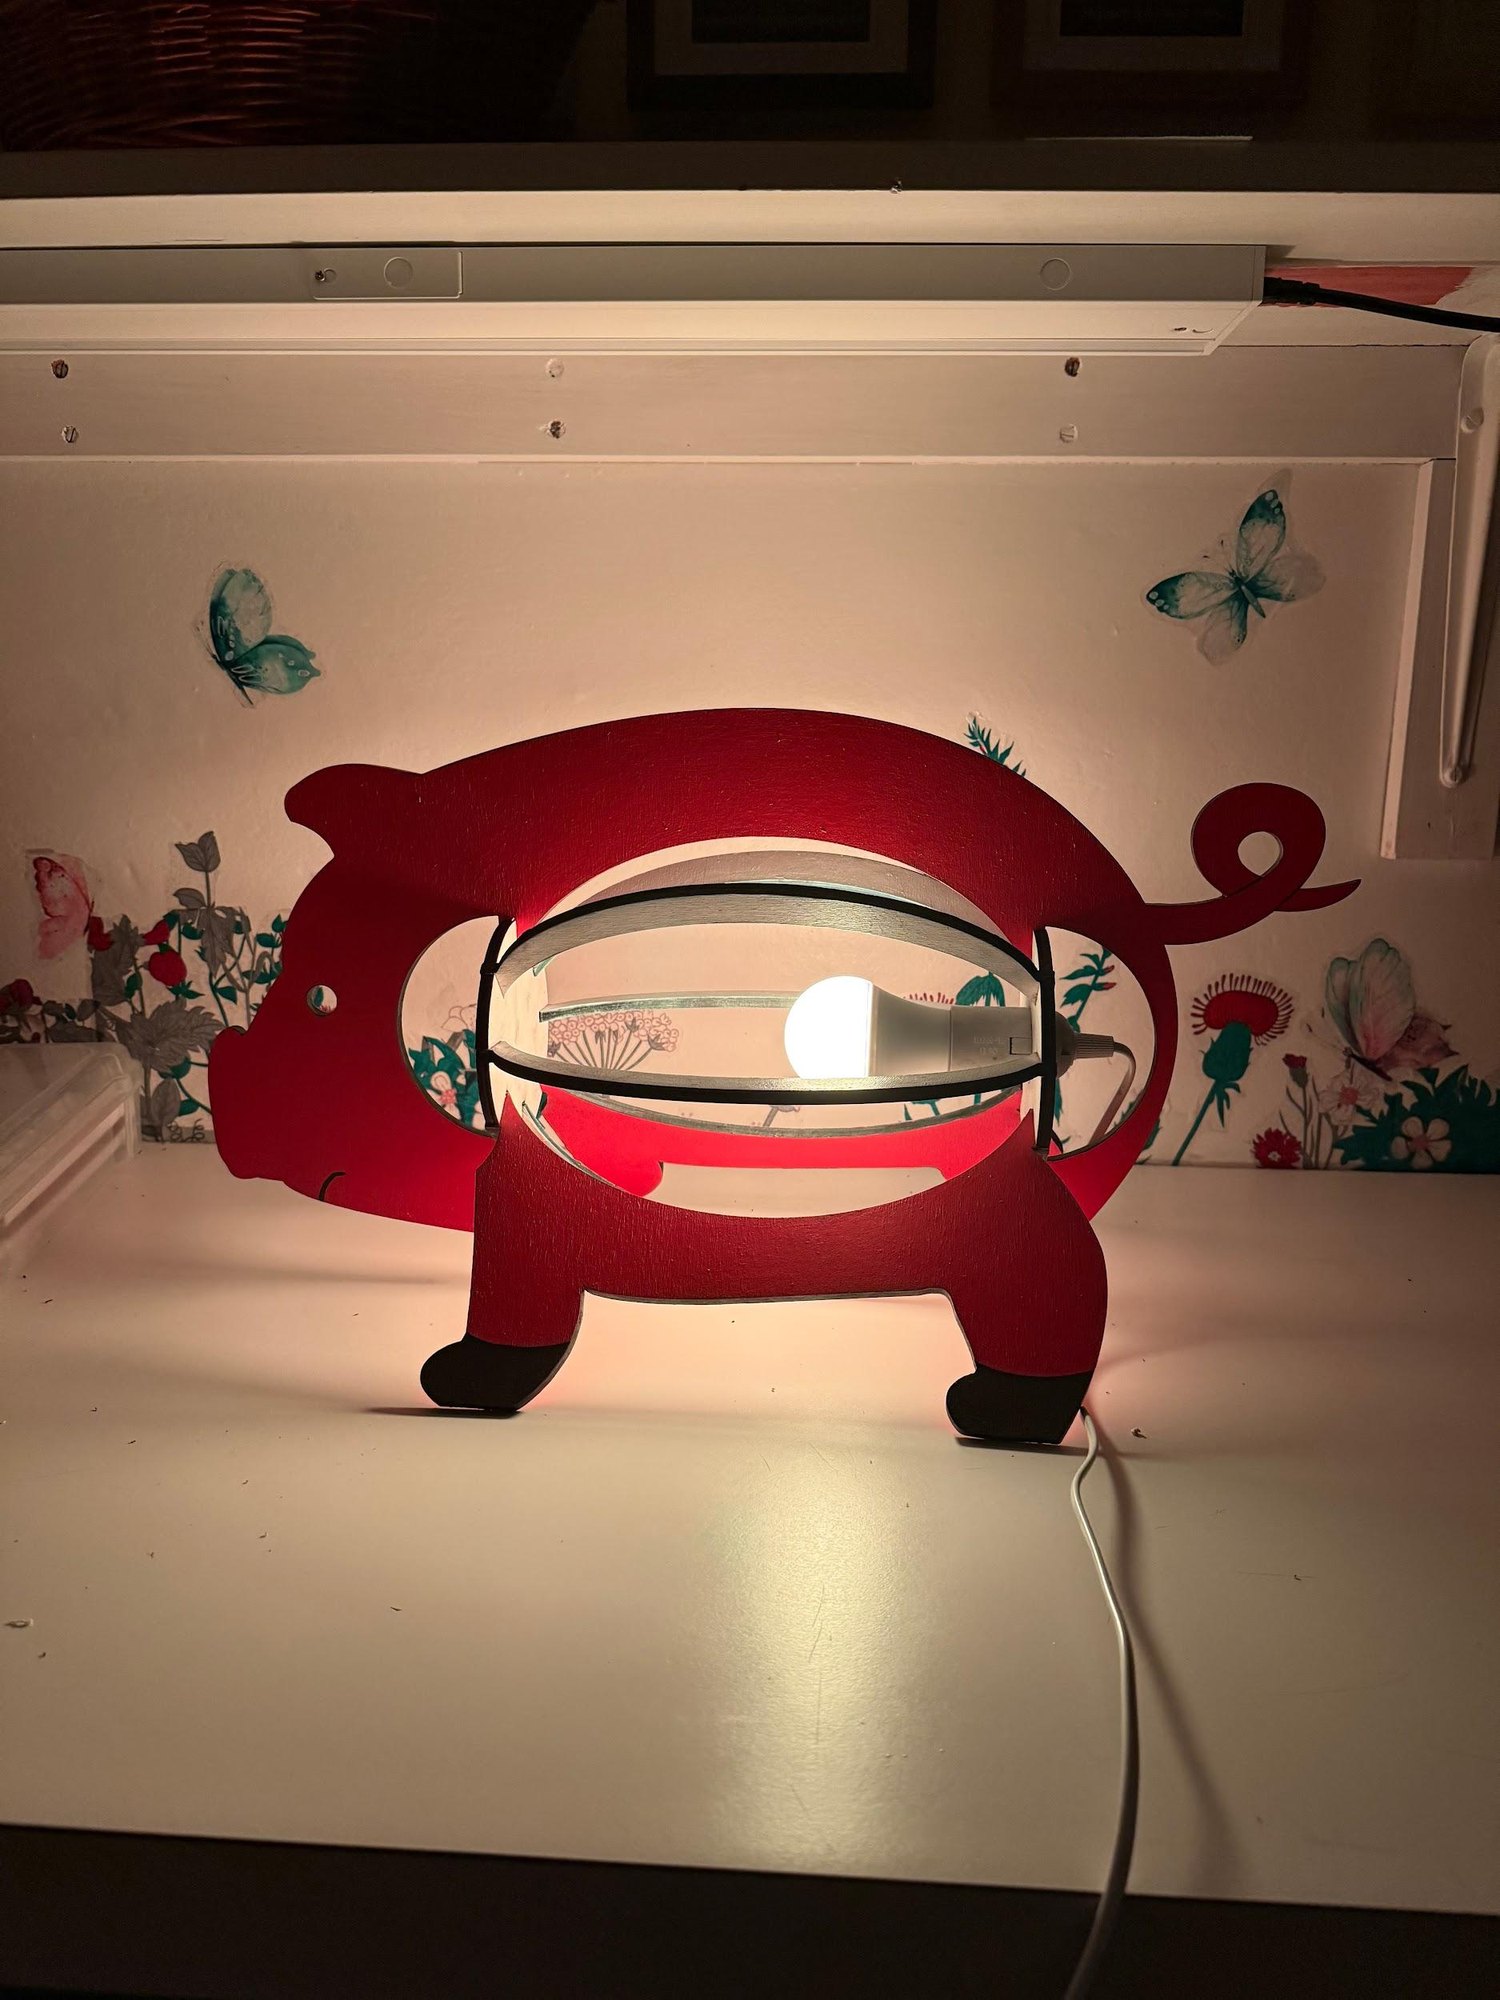
On, in low light.
Reflection
Precision decides whether it holds together.
What I learned
Working through the kerf and the fit taught me a lot about precision and design: in a slot-together object, small measurement choices decide whether the whole thing works.
What I’d do differently
- Test fit before anything else.The small example piece saved me from a full bad cut. Next time I’d cut a kerf test on day one and size every slot from it, instead of adjusting after the fact.
- Prototype the scale, not just the fit.I’d make the pig a little smaller so it looks more proportional — something a quick cardboard mockup at full size would have shown before cutting wood.
- Check it with the people it’s for. The next step is putting the lamp in front of the clinic and the child to see how the light and the form actually land.